自定义菜单
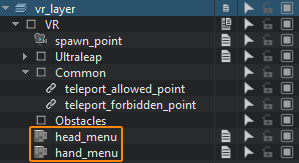
The VR template has two menu types: the main one is attached to the HMD position, and the second — to the hand. In the VR sample, the head_menu node (ObjectGui) is used for the main menu, and the hand_menu node (ObjectGui) is used for the additional menu.VR 模板提供了两种菜单类型:主菜单附加在 HMD(头戴式显示器)的位置,辅助菜单附加在手部。在 VR 示例中,主菜单使用的是 head_menu 节点(ObjectGui),而附加在手部的辅助菜单使用的是 hand_menu 节点(ObjectGui)。

Hand- and head-mounted menu nodes have the MixedRealityMenuGui and HandMenuSampleGui components assigned respectively. Both these components are inherited from the base MenuBaseUI component that implements a user interface. In general, the user interface is implemented as follows:手部和头部挂载的菜单节点分别分配了 MixedRealityMenuGui 和 HandMenuSampleGui 组件。这两个组件都继承自实现用户界面的基础组件 MenuBaseUI。通常,用户界面的实现方式如下:
- Inherit a new component from the base MenuBaseUI.从基础组件 MenuBaseUI 继承一个新组件。
- Implement the user interface with the required widgets in the overridden init_gui() method.在重写的方法 init_gui() 中实现包含所需控件的用户界面。
- Implement handlers for processing widgets events (pressing a button, selecting elements in the drop-down menu, etc.).实现用于处理控件事件的响应方法(例如点击按钮、选择下拉菜单中的元素等)。
- Subscribe the corresponding widgets for the events in the init_gui() method.在 init_gui() 方法中为相关控件订阅事件。
- Assign the component to the ObjectGui node that will display the user interface.将该组件分配给将显示用户界面的 ObjectGui 节点。
Let's create a new menu for the left controller and add the quit button:我们现在来为左手控制器创建一个新菜单,并添加一个退出按钮:
-
Inherit a new component from the base MenuBaseUI, call it VRHandMenu and copy the following code to it:从基础组件 MenuBaseUI 继承一个新组件,命名为 VRHandMenu,并将以下代码复制到其中:
源代码 (C++)#pragma once #include <UnigineComponentSystem.h> #include <UnigineGui.h> #include "../Demo/GUI/MenuBaseUI.h" class VRHandMenu : public MenuBaseUI { public: COMPONENT_DEFINE(VRHandMenu, MenuBaseUI); // 初始化用户界面(创建控件等) virtual void init_gui() override; private: // 声明事件处理器 void button_quit_clicked(); void ok_clicked(); void cancel_clicked(); void window_changed(); // ObjectGui 背景 Unigine::WidgetSpritePtr background; // 声明所需的控件 Unigine::WidgetVBoxPtr VBox; Unigine::WidgetButtonPtr quitButton; Unigine::WidgetWindowPtr window; Unigine::WidgetButtonPtr okButton; Unigine::WidgetButtonPtr cancelButton; Unigine::WidgetHBoxPtr HBox; };源代码 (C++)#include "VRHandMenu.h" REGISTER_COMPONENT(VRHandMenu); using namespace Unigine; using namespace Math; const int font_size = 25; void VRHandMenu::init_gui() { if (!gui) return; // 背景 background = WidgetSprite::create(gui, "core/textures/common/black.texture"); background->setColor(Math::vec4(1.0f, 1.0f, 1.0f, 0.5f)); gui->addChild(background, Gui::ALIGN_BACKGROUND | Gui::ALIGN_EXPAND); // 添加垂直列容器 WidgetVBox 到 GUI VBox = WidgetVBox::create(); VBox->setWidth(gui->getWidth()); VBox->setHeight(100); gui->addChild(VBox, Gui::ALIGN_OVERLAP | Gui::ALIGN_CENTER); // 将退出按钮添加到容器中 quitButton = WidgetButton::create(gui, "QUIT APPLICATION"); quitButton->setFontSize(20); VBox->addChild(quitButton); quitButton->getEventClicked().connect(this, &VRHandMenu::button_quit_clicked); VBox->arrange(); // 创建退出确认窗口 window = WidgetWindow::create(gui, "Quit Application"); window->setFontSize(20); // 向确认窗口添加水平行容器 WidgetHBox HBox = WidgetHBox::create(); HBox->setWidth(window->getWidth()); HBox->setHeight(100); window->addChild(HBox); // 添加“确定”按钮,并通过“OkClicked”处理程序订阅“点击”事件以退出应用程序 okButton = WidgetButton::create(gui, "OK"); okButton->setFontSize(20); HBox->addChild(okButton); okButton->getEventClicked().connect(this, &VRHandMenu::ok_clicked); // 添加“取消”按钮,并通过“CancelClicked”处理程序订阅“点击”事件以关闭确认窗口 cancelButton = WidgetButton::create(gui, "Cancel"); cancelButton->setFontSize(20); HBox->addChild(cancelButton); cancelButton->getEventClicked().connect(this, &VRHandMenu::cancel_clicked); } void VRHandMenu::button_quit_clicked() { gui->addChild(window, Gui::ALIGN_OVERLAP | Gui::ALIGN_CENTER); } void VRHandMenu::ok_clicked() { Engine::get()->quit(); } void VRHandMenu::cancel_clicked() { gui->removeChild(window); } void VRHandMenu::window_changed() { // 不允许窗口超出 GUI 平面 int x = Math::clamp(window->getPositionX(), 0, window->getGui()->getWidth() - window->getWidth()); int y = Math::clamp(window->getPositionY(), 0, window->getGui()->getHeight() - window->getHeight()); window->setPosition(x, y); } -
Save these files and then build and run the application by hitting Ctrl + F5 to make the Component System generate a property to be used to assign the component to nodes. Close the application after running it and switch to UnigineEditor.保存这些文件,然后按下 Ctrl + F5 构建并运行应用程序,以便组件系统生成用于将组件分配给节点的属性。运行后关闭应用程序并切换回 UnigineEditor。
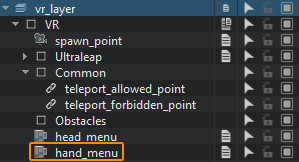
Then assign the VRHandMenu property to the hand_menu node. And disable the HandMenuSampleGui property which is assigned to this node by default.然后将 VRHandMenu 属性 分配给 hand_menu 节点。同时禁用默认分配给该节点的 HandMenuSampleGui 属性。

-
Save changes (Ctrl+S) and run your application via SDK Browser.保存更改(Ctrl+S),然后通过 SDK Browser 运行你的应用程序。
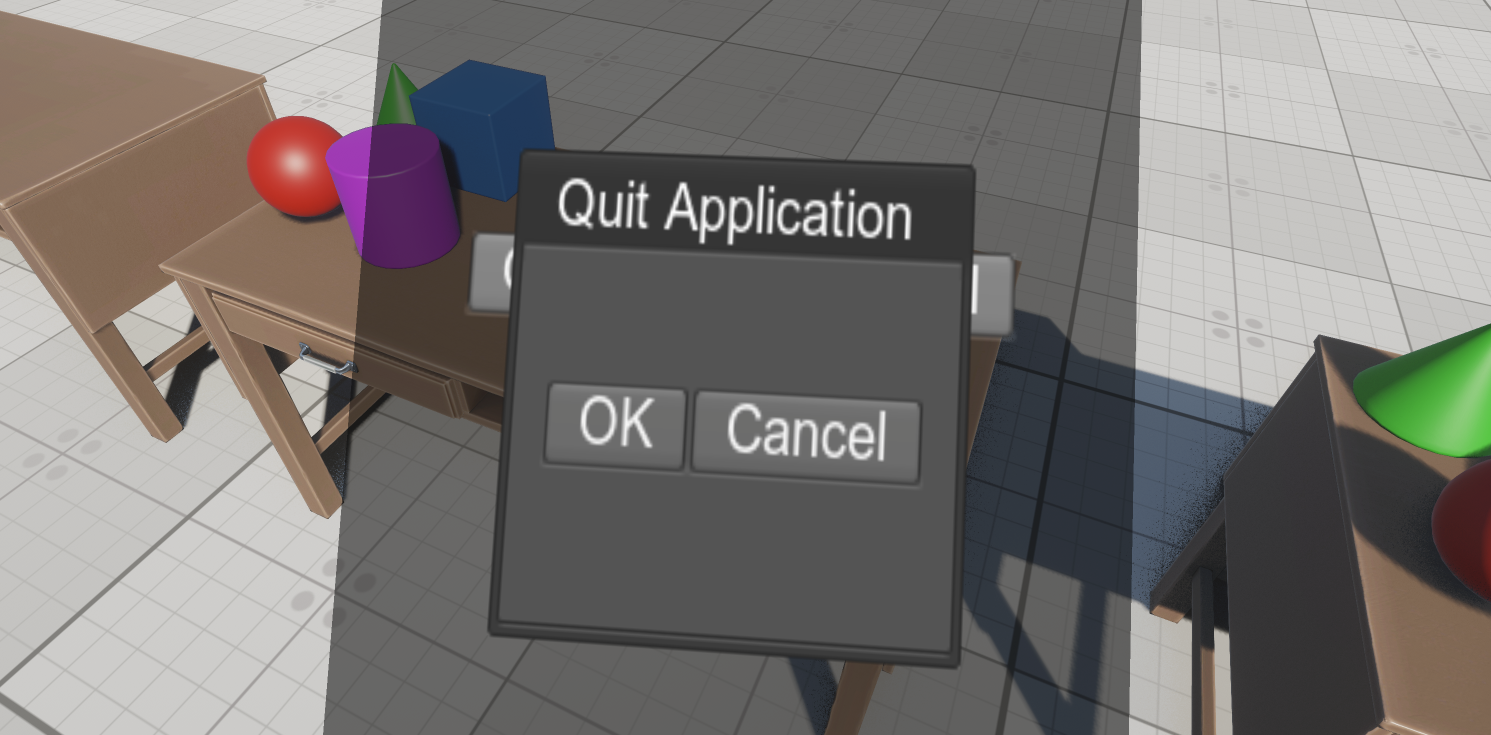
After launching the application, press the Menu button on the left controller — the result will look similar to this:启动应用程序后,按下左手控制器上的 Menu 按钮,效果大致如下所示:

本页面上的信息适用于 UNIGINE 2.20 SDK.
